
You and your students have been blogging away all year. You’ve been writing regularly, documenting class projects, and recording your students’ progress. Your blog has been a wonderful way to engage your peers and class parents. And, while it’s been challenging at times, you persevered and created a wonderful record full of milestones, photos and moments worth remembering.
You may have seen other teachers produce printed portfolios or books documenting their students’ work, and you may have wondered if you could create one as well. The answer is yes you can!
Whether you want to create a simple PDF version of your blog, or you want to turn it into a glossy, breathtaking, piece of art there are tools out there that you can use.
Printing a PDF Book (Or Text File)
If you want to quickly create a PDF of your class blogs, then BlogBooker is a quick and easy option.
Step 1: Export Your Blog Content
Before heading to BlogBooker, you will want to login to your blog and go to Tools > Export.
In most cases, you’ll want to export all content.
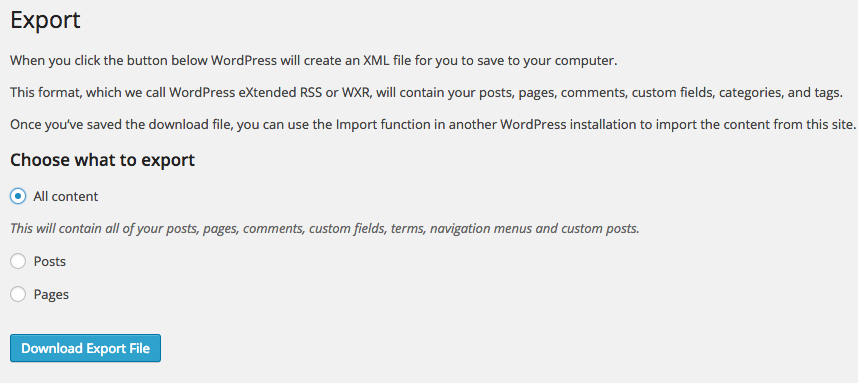
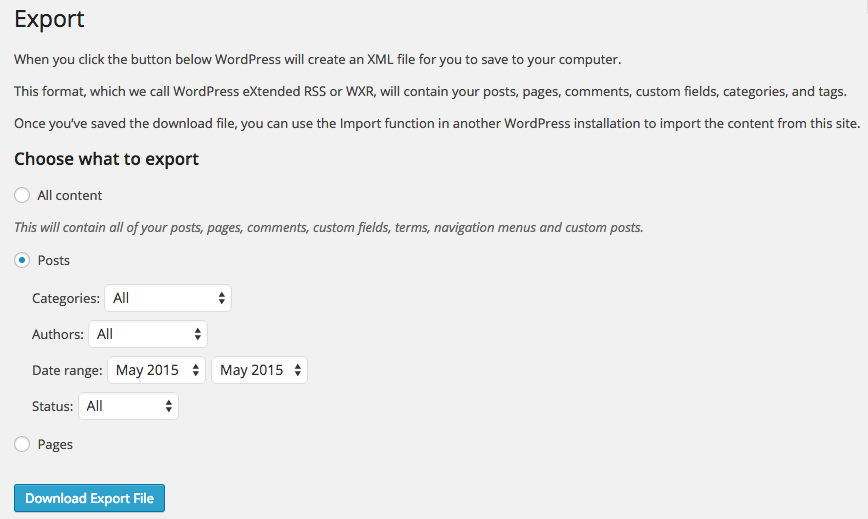
However, if you only want to include posts/pages from a specific author or from a specific date range, then you can choose the Posts or Pages export option.
Once you have downloaded your export (.xml) file, you are ready to upload it to BlogBooker.
Step 2: Upload Your Export to BlogBooker
Once you have your export file go to BlogBooker WordPress.
Click on Select your XML/ZIP export file and browse to locate the Export file you saved on your computer then add your blog URL.

It should look like below:

Select the To date. Post range is 1 year for a PDF and 6 months for Word (Docx).
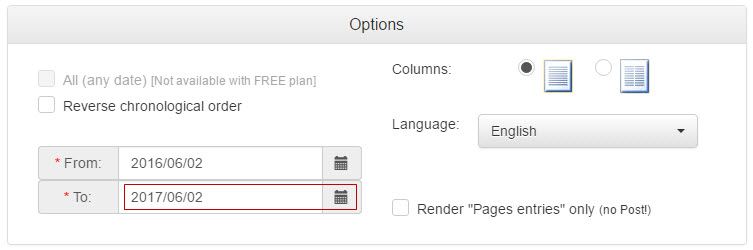
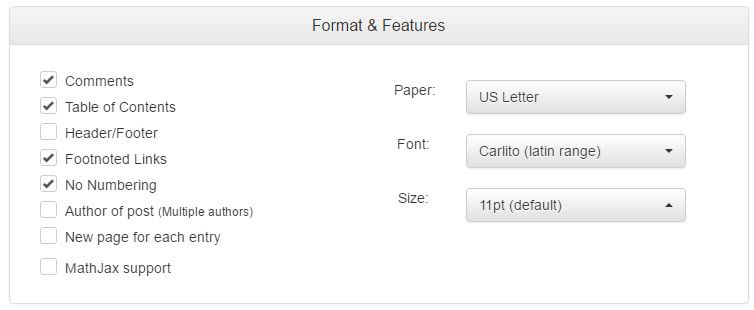
Select your preferred format and features (optional).
Once you have everything configured the way you want it, click on Create your BlogBook button.
![]()
Once it completes the creation process you are taken to a page where you can download your PDF or Word doc.
Step 3: Print Your Book
If you are opting to print a simple PDF copy of your blog and don’t want to make any edits, then all that is left to do is print the file you downloaded.
If you want to edit the downloaded PDF before printing, you’ll need the full version of Adobe Acrobat (not Adobe Reader). If you do not have the full version of Adobe Acrobat, you can download the Word document and edit that. You can then save the Word document and print right from Word.
You will most likely want to save your edited Word document as a PDF if you plan on uploading to a publishing site, or if you plan on emailing your book and want to ensure the recipients cannot edit it.
Publishing & Selling Your Book
The first thing Edublogs users may discover when going to publishing websites like Lulu or Blurb, is that there is often no automatic import option for a self-hosted WordPress site. That does not mean you cannot use these services. It simply means that you’ll have to go through the process of creating a PDF or text version of your blog (instructions in the section above) and then uploading those files.
Using Lulu
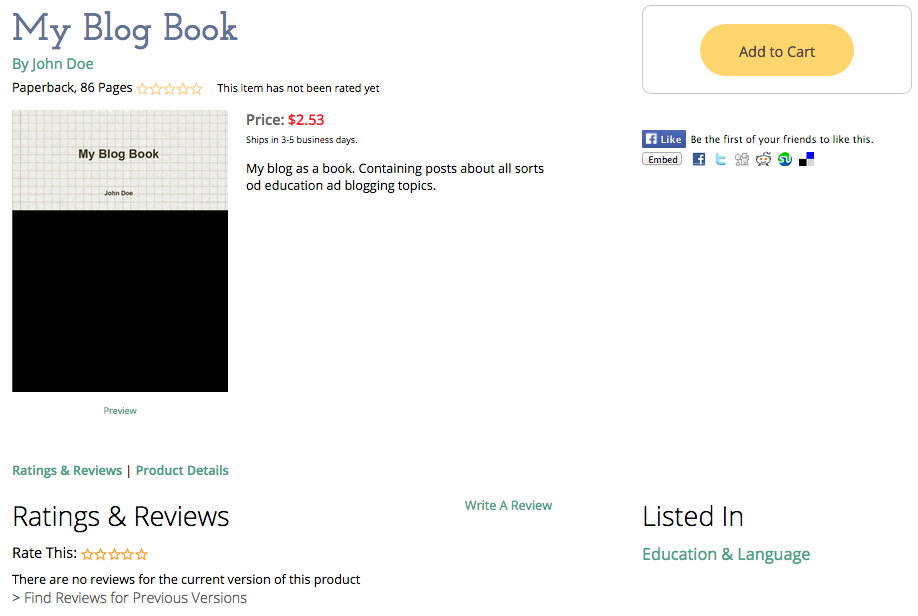
Lulu‘s process is fairly simple and very straightforward. It is a convenient publishing and distribution option for teachers who want to create inexpensive print versions of class blogs, student blogs, or digital portfolios.
On the homepage, choose to “Start a Print Book.” On the next page, you can choose the type of book you want to create and you can see how much it will cost to purchase it.
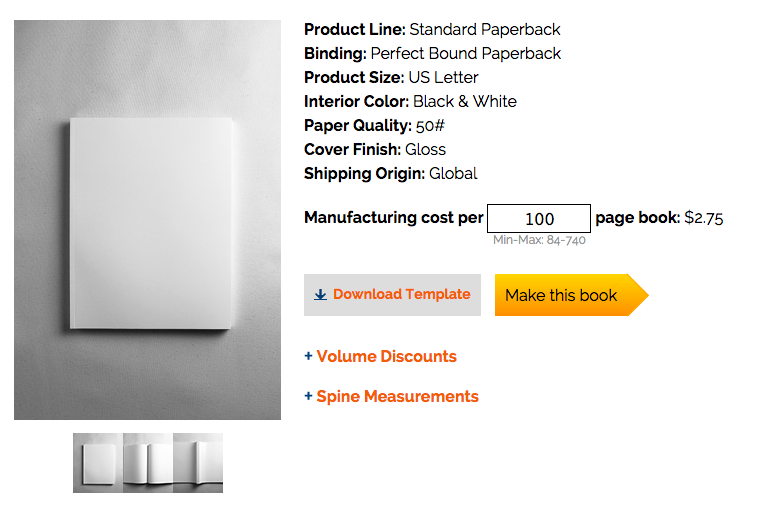
The default pricing is based on producing a one-hundred page book.
Prices will go up and down if you need more pages or less, and the minimum and maximum number of pages allowed changes based on what type of book you want to create.
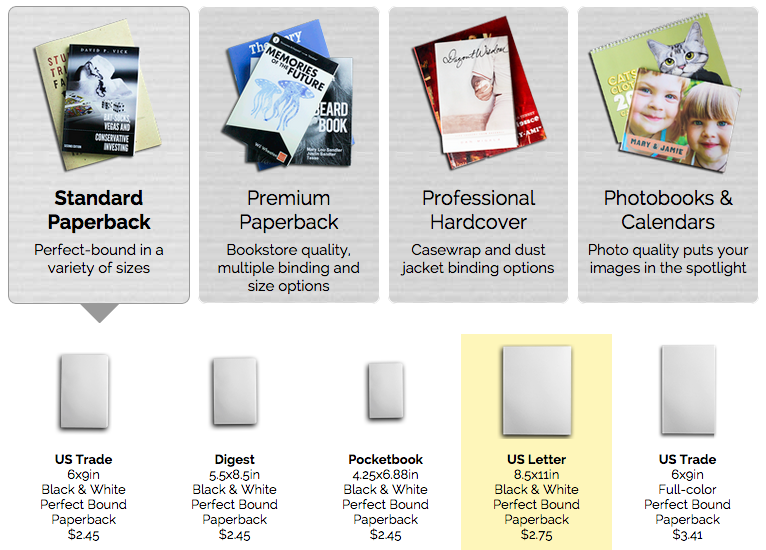
Once you have chosen the style of book you want and selected the number of pages you need, you will click the “Make this book” link.
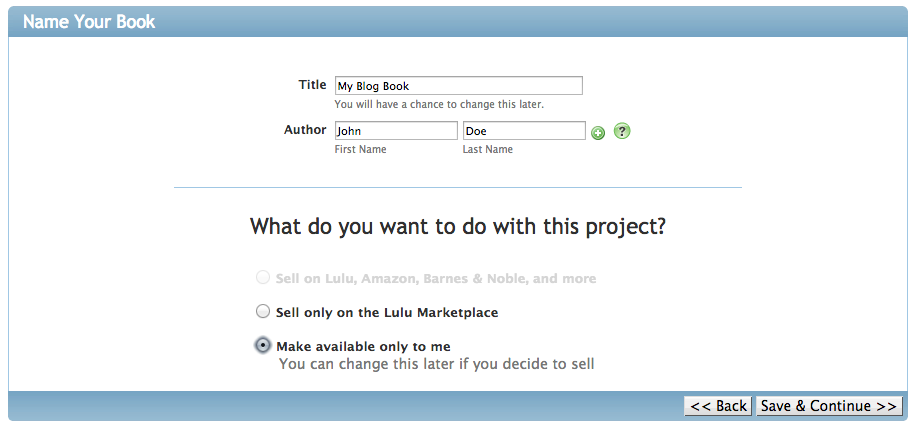
The next step is adding your title and authors, and choosing how to distribute the book. Most teachers will probably want to choose the “Make available only to me” option.
Next you will be prompted to upload your PDF document.
Other file types allowed for upload on Lulu are Microsoft Word DOC, Microsoft Word DOCX, RTF, TXT, JPG, PNG, GIF.
As you can see in the image below, Lulu has lots of help links to make sure your files are properly formatted and edited before creating your book.
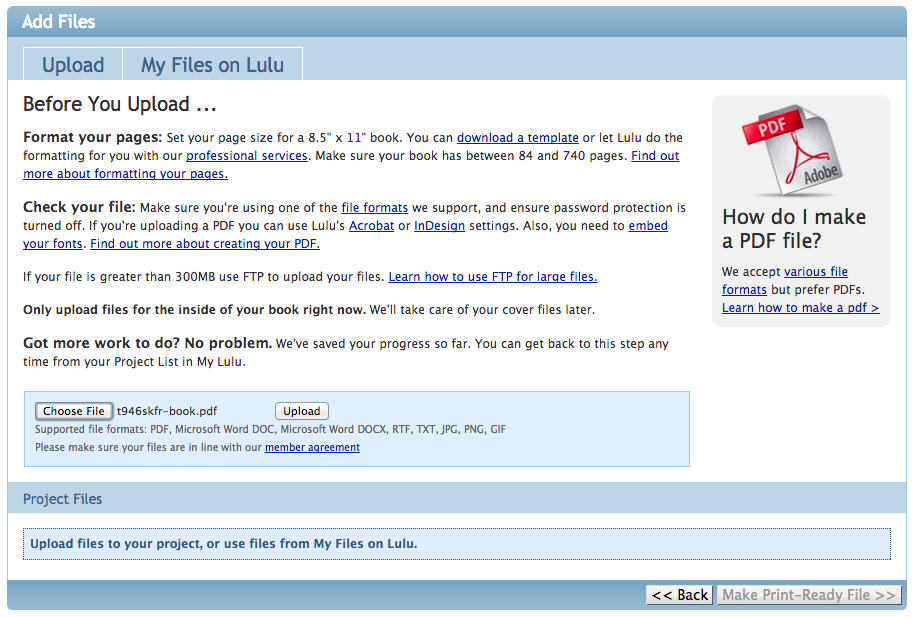
After uploading your files, you can click the “Make Print-Ready File” button. You will then be able to customize the cover for your book.
If you didn’t initially add any images to use for the cover, you can add them now and drag them into your cover design.
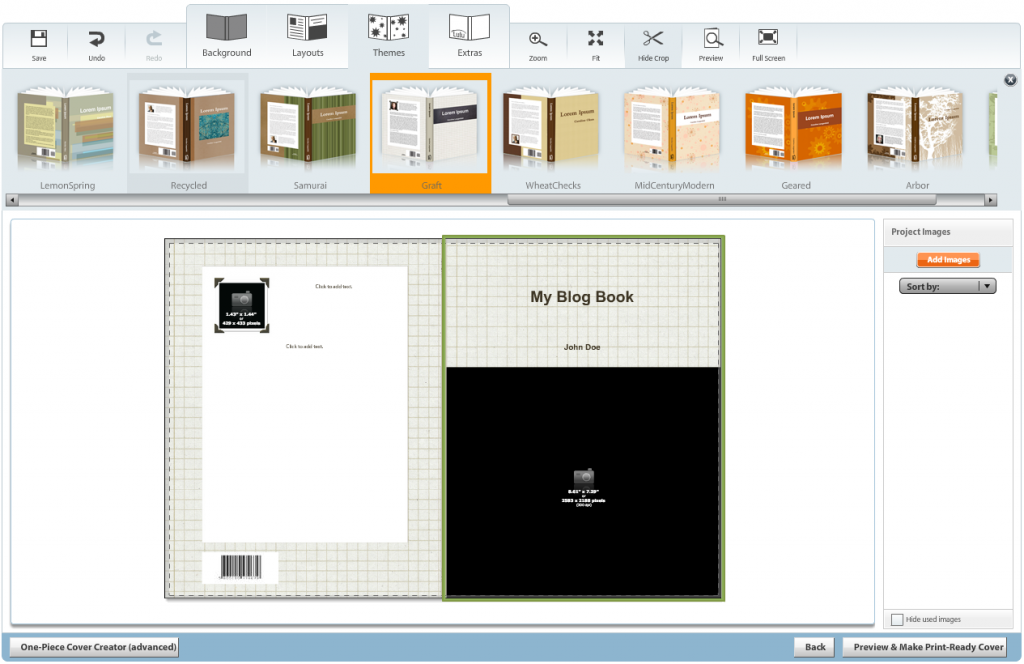
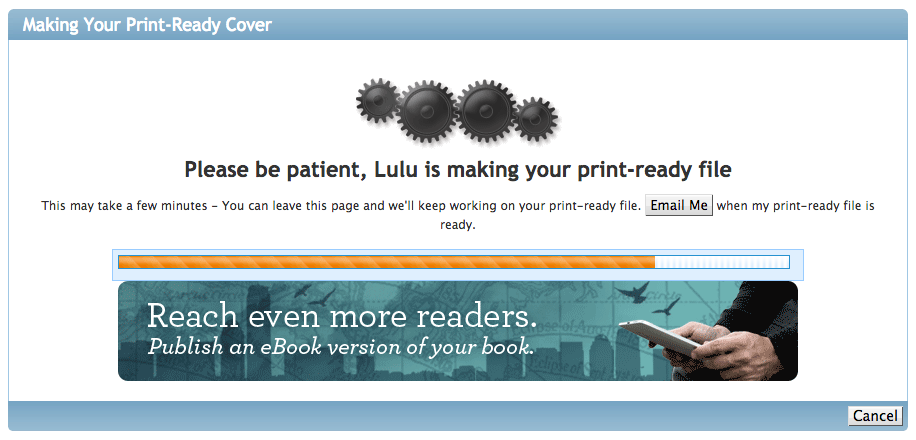
Once you are happy with your cover design, you can click the “Preview & Make Print-Ready Cover” button. Lulu will then process your file.
It may take some time for everything to complete, but they do offer to send you an email alert once it’s done so you can do other things in the meantime.
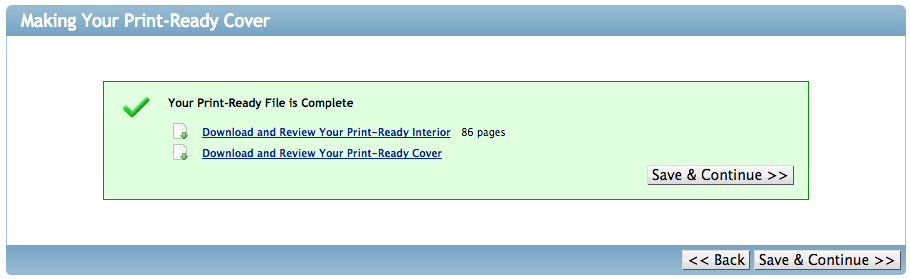
Once your file is done, you can save and continue.
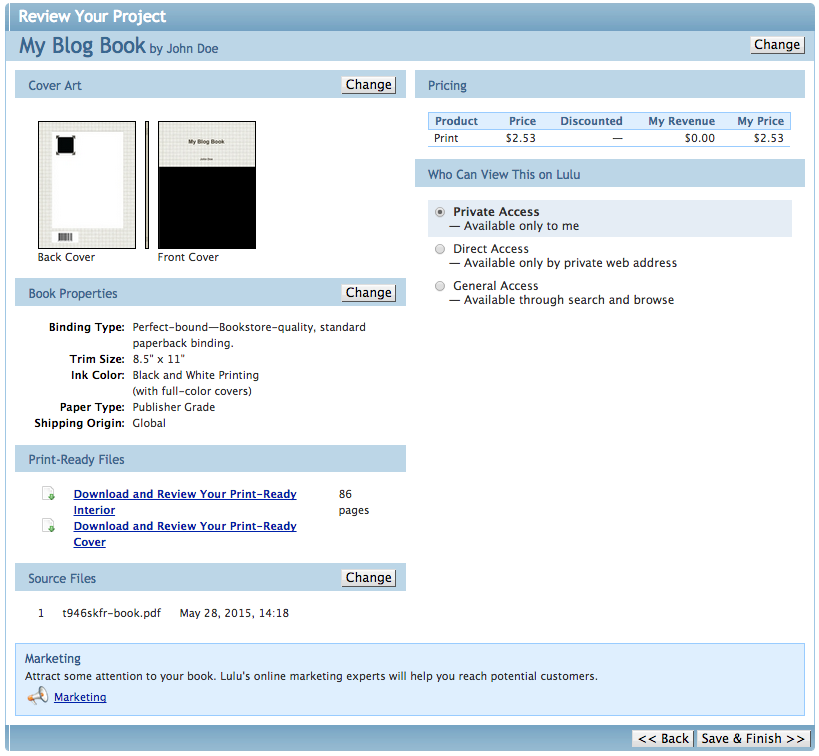
On the next page, you will be able to make any final revisions before finishing. You will also be able to set the privacy level for your book.
If you want to be the only person capable of purchasing copies of the book, then leave it set as Private Access. If you want parents to be able to find and purchase the book, then Direct Access is the best option.
Click “Save & Finish” to finish your book and make it available for purchase. Note, you can make a revised copy of the book in the future if needed.
Once your book has been saved and finished, it will appear on your My Projects page in Lulu. On this page you can make edits to the book and to your distribution settings.
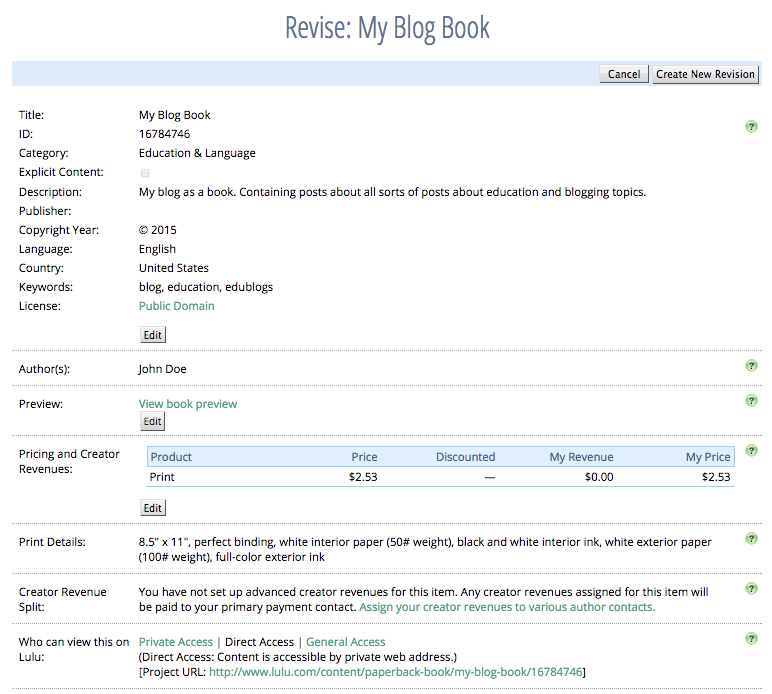
If you have set the book to be available for others to find via Direct Access or General Access, then they will now be able to find and purchase the book on Lulu.
If you want more suggestions for sites that can produce a print version of your blog, check out some other recommendations here.
Hi, I don’t know if it’s appreciated to point you guys to our new blog 2 book service. (Marketing disclaimer: it’s my own little company 😉 ). We support 7 blog platforms, have pretty cool designs and you can edit your post items, add new content, create a cover.
To Sue Bursztynski: thanks for naming Kidblog. I never heard about this platform, but I checked and they allow third parties (us) to connect to blog of their users. So I will do some work and add support for Kidblog within a few months, so their users can easily turn their writing into a book.
Take care. Maarten
I would have to agree with you wholeheartedly.
When I came upon your site, I must say your webpage is really cool I just love the content, its outstanding ! I’m in a bit of a rush in this instance to completely read your blog but I have favorited it. I will be back when I free up some time. Bravo for a great site.
Yes, I’ve recently heard of this product, on a blog!:-) But my class blogs on Kidblog, which is locked up from anyone who isn’t logged in. Assuming that I have done that – will BlogBooker be able to get through?
Hi Sue
You would need to test it to see what happens. I would expect that the blog would need to be changed to block search engines while you created the book but try creating the book while it is set to private to see what happens.
Sue Waters
Support Manager
Edublogs | CampusPress
I think it is a great idea but how do you get it.