There are dozens of reasons why students should blog.
There’s increased engagement by sharing with an authentic audience. Blogging encourages reflection, collaboration, and communication. Publishing on the web is even required in Common Core and other state and national standards!
And best of all, using Edublogs, blogging with students is as simple as following these 5 basic steps…
Step 1: Create A Class Blog
Every teacher should have a class website to keep students and parents up-to-date.
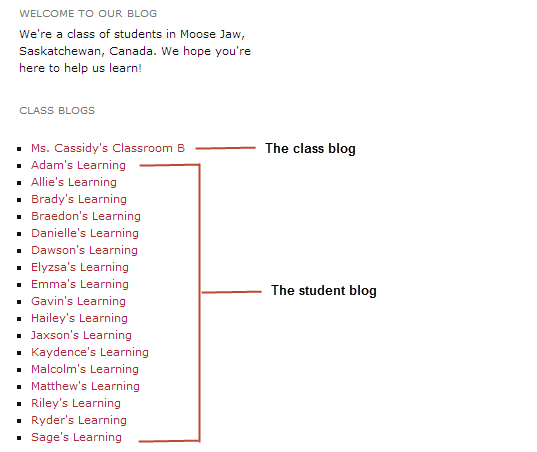
The class blog is the hub that connects the student blogs, helps you manage all your student blogs and enables your students easily interact the other students’ blogs.

You’ll find step by step instructions on how to set up your class blog here!
Step 2: Set Up My Class
My Class is the ultimate tool for class and student blogging. It allows you to connect student blogs to your class blog where you can control the student blog privacy, comment moderation and post moderation on all student blogs with just one click.
My Class also allows you to transfer student blogs to management of a new teacher at the start of each school year; or remove from My Class, and transfer complete control of the blog to the student, when they leave school.
Here’s how to set up My Class:
1. Go to My Class > Create a Class.

2. Select “This is a class blog” (1), ”No – use if you want them to publish posts on their student blog” (2), choose if you want to moderate posts and comments on student blogs (3), your preferred privacy option (4) and which users you want to manage your student blogs (5).
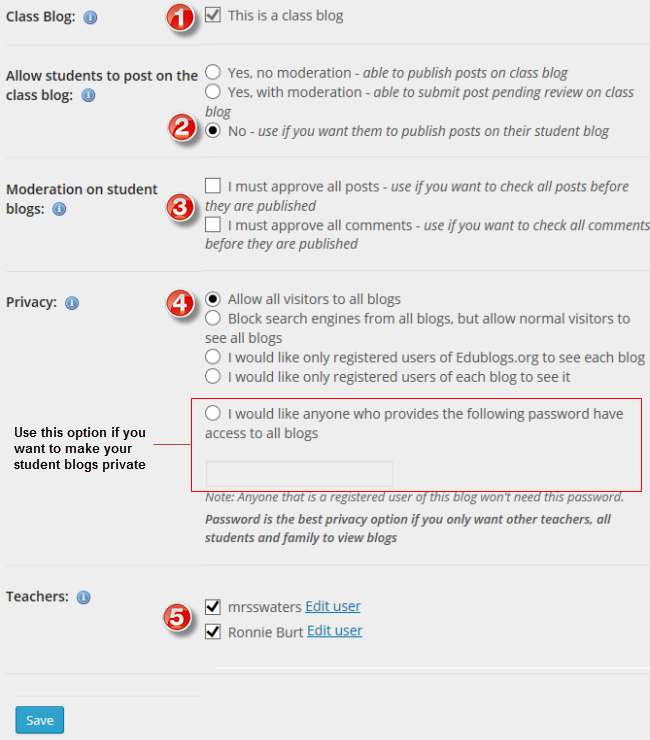
3. Click Save.
Step 3: Create Student Blogs
Once you’ve set up My Class there are two options for creating student blogs:
- You create the student blogs using My Class > Create Student blogs.
- Students to create their own blogs using the Edublogs sign up page and then connect to your class blog using My Class > Join a Class.
Benefit of students creating their blogs using the Edublogs sign up page is it allows you to easily reset their password — provided the student didn’t add an email address.
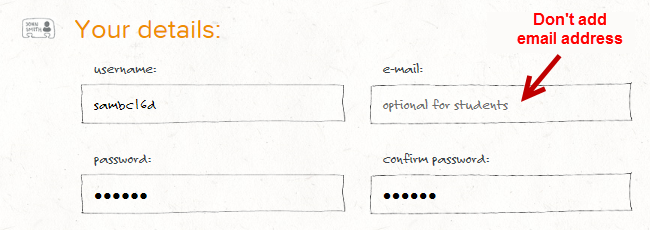
If the student doesn’t add their email address their account is created using our no email option and looks something like this — [email protected]
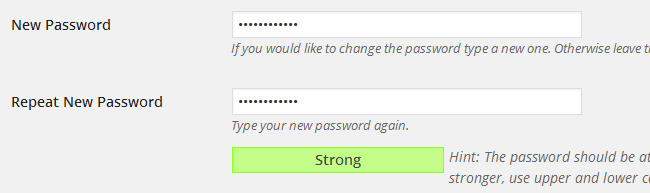
In Users > All Users you’ll see an edit link below any student user name created using our no email option.

Click on Edit underneath their username to quickly reset the student password.
Step 4: Add Class Blog List
The class blog list provides a handy link to all blogs attached to My Class. Students just need to click on the link to visit a class mate’s blog.
You can add the class blog list to:
- A sidebar using the Class blog widget.
- A page using the Live Shortcode plugin.
Step 5: Comment On Student Posts
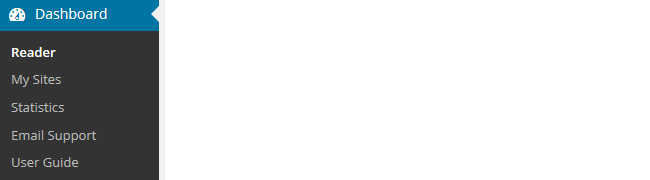
The Edublogs Reader automatically feeds all published posts from all student blogs and the class blog into the dashboard of every users attached to My Class where you and your students can easily read and comment on each others’ posts.
Reading posts is as simple as:
1. Go to Dashboard > Reader.
2. Click on Read More if you want to read the full post.
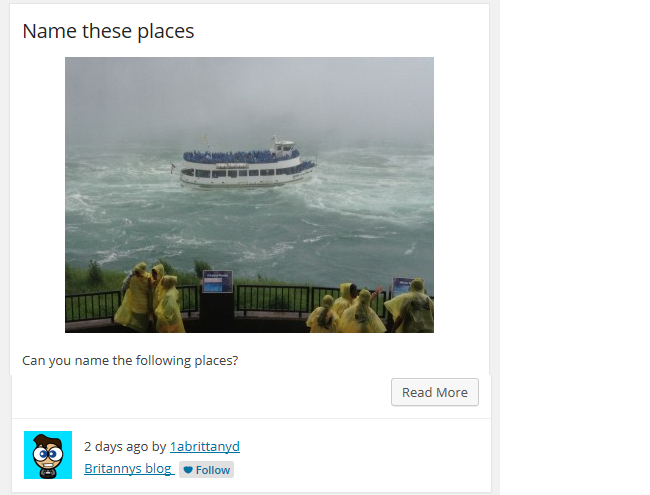
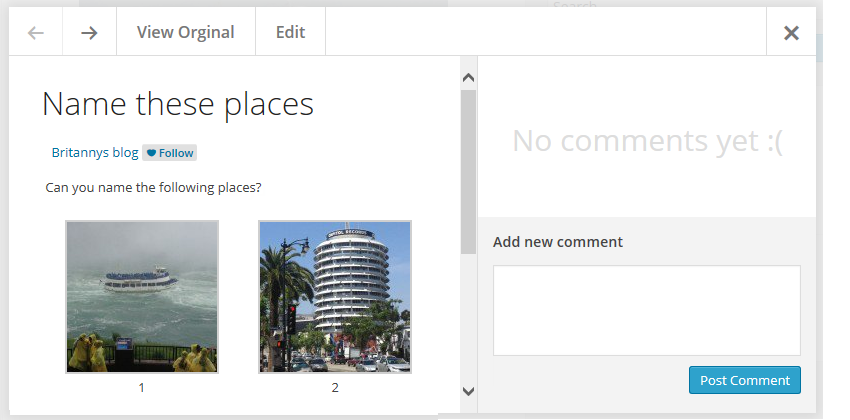
This displays the full post and allows you to select from the following options:
- View Original – when you click on ‘View original’ it loads the draft post on the student blog where you can see what the post will look like when published.
- Edit – clicking on Edit opens the post inside the dashboard of the student blog where you can make edits to the post (only visible to the teacher).
- Add New Comment – allows you to add a comment to the post from inside your dasbhboard.
- The forward and back arrows allow you to scroll to the next or previous student post or comment.
The reader is also the fastest way to check all pending posts and comments on your student blogs. It allows you to preview posts and comments and publish them with one click! You’ll find detailed step by step instructions for approving pending posts and comments here.
That’s It!
Let us know in the comments below if you have any questions and feel free to share a link to your class and student blogs too!
For more handy tips check out our blogging with class and student series!
Thank you so much for the information. I’m going to try a class blog for my writers club so that we can all share our writing over the summer.
Fabulous, Dee! Let us know if you need any additional help. 🙂
Great post. I’ve been doing this for a couple of years with my IELTS classes. I’d normally go through a few small forests a term, but the blog allows me to just refer to the site. It also helps really motivated students because after a while there’s lots of extra material. Here is a link to show you how much it’s developed over the last few months. http://ieltsadvantage.com/